OpenOffice.org Calc Tips : Scaling prints
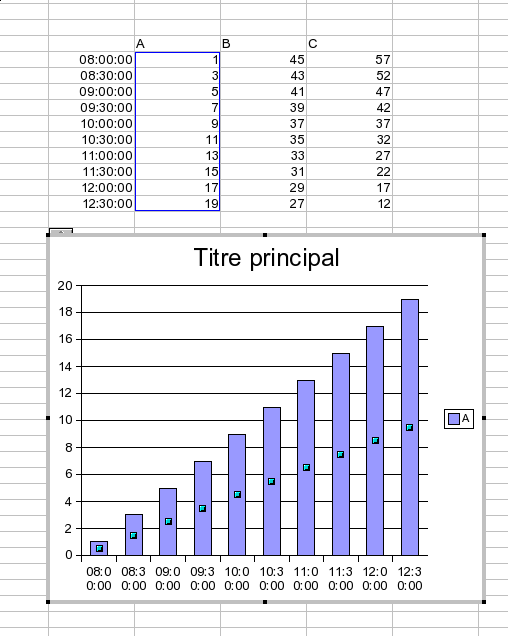
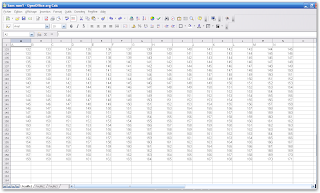
Here is an interresting use case. I have the following set of data: many lines and a few columns. You can have an idea of how the data looks in the screenshot (data range : A1:L159):
 What I want to do is to print all the columns on the same sheet and I don't care of the number sheets for the lines. How would you do that? Any hint? Currently, I see two way to do it.
The first one, is quite an easy one: use the "Page break preview". Select "View > Page break Preview". You should see something similar to the screenshot:
What I want to do is to print all the columns on the same sheet and I don't care of the number sheets for the lines. How would you do that? Any hint? Currently, I see two way to do it.
The first one, is quite an easy one: use the "Page break preview". Select "View > Page break Preview". You should see something similar to the screenshot:
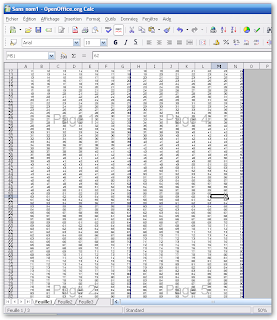 Then, just click on the vertical blue line showing the end of "page 1" and drag it to the end of your data. And that's it.
The second method is not that easy to find. It does use the page formating dialog. Select Format > Page... and click on the sheet page. You should see something similar to this screenshot.
Then, just click on the vertical blue line showing the end of "page 1" and drag it to the end of your data. And that's it.
The second method is not that easy to find. It does use the page formating dialog. Select Format > Page... and click on the sheet page. You should see something similar to this screenshot.
 In the "Scale" area, select "Fit print range(s) to width/heigth" and then just click on the hegth text box and remove the "1". It should look like the screenshot now:
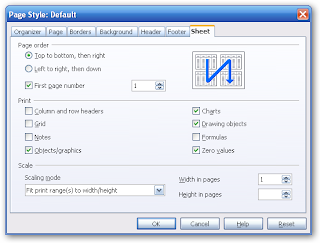 Then just click on the "Ok" button. By removing the "1", you explain to OOo that it has to take care of the number of pages for the heigth. To check the result, just have a look at the print preview.
PS: I agree, that having a value called "*", "I don't care" or anything else could make this easier for users. Maybe an issue should be reported about that ?
Then just click on the "Ok" button. By removing the "1", you explain to OOo that it has to take care of the number of pages for the heigth. To check the result, just have a look at the print preview.
PS: I agree, that having a value called "*", "I don't care" or anything else could make this easier for users. Maybe an issue should be reported about that ?
 What I want to do is to print all the columns on the same sheet and I don't care of the number sheets for the lines. How would you do that? Any hint? Currently, I see two way to do it.
The first one, is quite an easy one: use the "Page break preview". Select "View > Page break Preview". You should see something similar to the screenshot:
What I want to do is to print all the columns on the same sheet and I don't care of the number sheets for the lines. How would you do that? Any hint? Currently, I see two way to do it.
The first one, is quite an easy one: use the "Page break preview". Select "View > Page break Preview". You should see something similar to the screenshot:
 Then, just click on the vertical blue line showing the end of "page 1" and drag it to the end of your data. And that's it.
The second method is not that easy to find. It does use the page formating dialog. Select Format > Page... and click on the sheet page. You should see something similar to this screenshot.
Then, just click on the vertical blue line showing the end of "page 1" and drag it to the end of your data. And that's it.
The second method is not that easy to find. It does use the page formating dialog. Select Format > Page... and click on the sheet page. You should see something similar to this screenshot.
 In the "Scale" area, select "Fit print range(s) to width/heigth" and then just click on the hegth text box and remove the "1". It should look like the screenshot now:
 Then just click on the "Ok" button. By removing the "1", you explain to OOo that it has to take care of the number of pages for the heigth. To check the result, just have a look at the print preview.
PS: I agree, that having a value called "*", "I don't care" or anything else could make this easier for users. Maybe an issue should be reported about that ?
Then just click on the "Ok" button. By removing the "1", you explain to OOo that it has to take care of the number of pages for the heigth. To check the result, just have a look at the print preview.
PS: I agree, that having a value called "*", "I don't care" or anything else could make this easier for users. Maybe an issue should be reported about that ?Labels: Calc, OpenOffice.org, Tips, tricks
posted by pagalmes at
9:21 PM
|
3 comments
![]()